Quickstart [[quickstart: Tutorial]]Tutorial
🤖 Content Generator
- target: [[#quickstart.content]]
- about: Object, Field, Heading, Reference, Data Type
- sources_hash: 27078aa4723f0ce1
Prompt [[quickstart_gen_prompt: text]]textGuides Namespace 78%Learn Namespace 78%Content Generator ContentGenerator 77%
Write a quickstart that gets someone from zero to working QMDC in 5 minutes. This is a DO page, not a READ page.
Structure:
- Install —
cargo install qmdcoruv pip install qmdcornpm install -g @qmdc/qmdc(show all three, let them pick) - Create a file — literally "create
hello.qmd.mdwith this content:" and show a 5-line example - Parse it —
qmdc parse -i hello.qmd.md— show the command and what it outputs - Validate —
qmdc parse -i hello.qmd.md > /dev/null && echo "valid" - Create a workspace — add a second file, add a reference between them, run
qmdc workspace validate . - Query —
qmdc query . "SELECT __id, __kind FROM objects"— show the output - Hand it to an agent (MCP) —
qmdc mcp --force-root .exposes the same graph to AI agents over the Model Context Protocol; show a minimal MCP client config
Every step: command to run, expected output. Copy-paste friendly. No theory. No "what is QMDC". No "core concepts". Just do the thing. End with: "Next: read Why QMDC to understand the philosophy, or jump to the Guides for specific tasks."
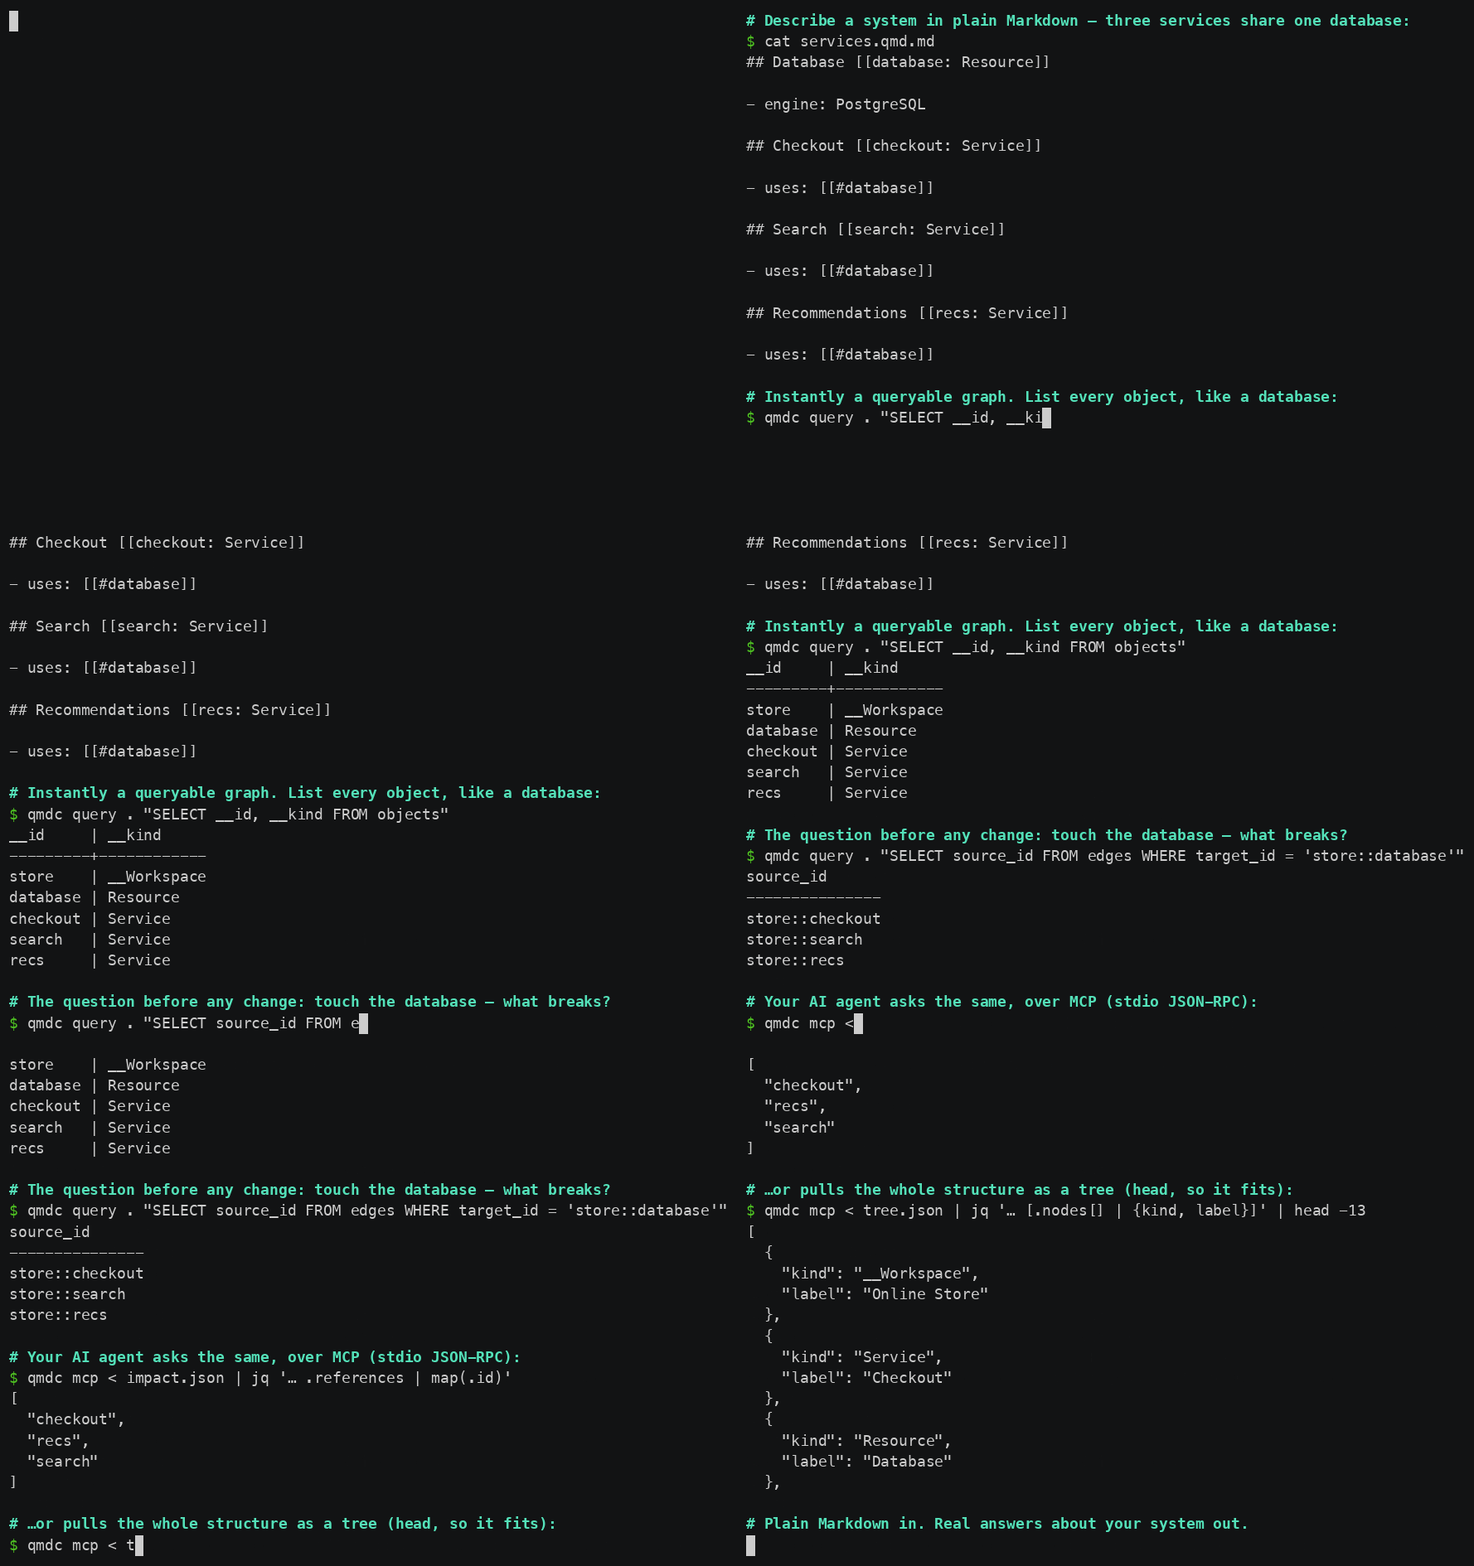
At the very top of the content (before "Install"), embed the demo recording:

1. Install
Pick your package manager:
# Rust
cargo install qmdc

# Python
uv pip install qmdc

# Node.js
npm install -g @qmdc/qmdc
Confirm it's working:
qmdc --version
2. Create a file
Create hello.qmd.md:
## Server [[server: Config]]

- host: localhost
- port: 8080
- debug: true
A Heading with [[id: Kind]] creates an Object. Bullet items with - key: value become Fields. Values are auto-typed — 8080 is a number, true is a boolean (Data Type).
3. Parse it
qmdc parse -i hello.qmd.md --pretty
Output:
[
  {
    "__id": "server",
    "__label": "Server",
    "__kind": "Config",
    "host": "localhost",
    "port": 8080,
    "debug": true
  }
]
4. Validate
qmdc parse -i hello.qmd.md > /dev/null && echo "valid"
Output:
valid
If there are syntax errors, you'll see them on stderr and a non-zero exit code.
5. Create a workspace
Add a second file, services.qmd.md:
## API [[api: Service]]

- port: 3000
- config: [[#server]]
The Reference [[#server]] creates a typed edge from api to server with edge type config.
Mark the directory as a workspace with readme.qmd.md:
# My Project [[my_project: __Workspace]]
Validate the workspace — this checks that all cross-file references resolve:
qmdc workspace validate .
Output (empty array = no errors):
[]
6. Query
qmdc query . "SELECT __id, __kind FROM objects"
Output:
__id        | __kind
------------|------------
my_project  | __Workspace
server      | Config
api         | Service
Query the edges (relationships between objects):
qmdc query . "SELECT source_id, target_id, edge_type FROM edges"
Output:
source_id | target_id | edge_type
----------|-----------|----------
api       | server    | config
7. Hand it to your agent (MCP)
The same graph is available to AI agents over the Model Context Protocol. Start the server (scoped to the current directory):
qmdc mcp --force-root .
Then point an MCP client (Claude Desktop, Cursor, Kiro, …) at it:
{
  "mcpServers": {
    "qmdc": {
      "command": "qmdc",
      "args": ["mcp", "--force-root", "/path/to/your/project"]
    }
  }
}
The agent can now search objects, run read-only SQL, walk the reference graph, and preview renames — the same intelligence your editor uses, no prose pasting.
Next: read Write Your First QMD.md File for a detailed walkthrough with explanations, or jump to the Guides for specific tasks.